 CART - $
0.00
CART - $
0.00 
It’s disturbing if your smartphone isn’t charging. Since it’s a sign of a gadget’s equipment trouble, including battery. In any case, we cannot just make rushed speculation with the occurrences that a smartphone can’t charge. We have to troubleshoot, then, and have a thought regarding what the difficulty truly is with the mobile phone.
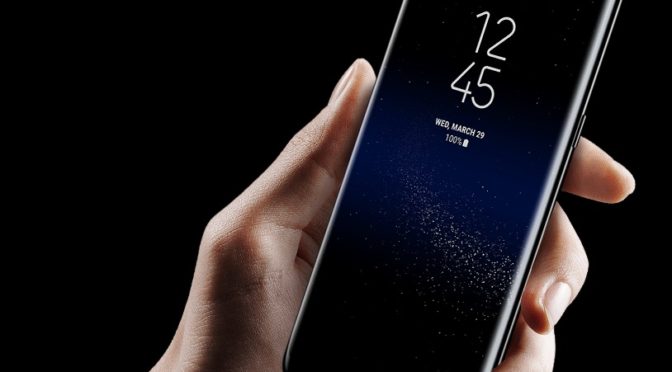
1. Make sure you’re using is the original Samsung charger and USB cable.
It is basic to charge your smartphone with its unique charger and information cable.
Attempt to take a gander at the port of the charger. There might be a couple of types of trash, build-up, or possibly consumption that ruins the correct contact with the connectors. If there’s none, we ought to do genuinely check the two closures of the cable. If you can’t discover any, and the Galaxy S8+ has a full battery left, attempt to connect the smartphone to a PC and check if the PC detects it. Since, in such a case that it does, the cable works fine. Also, if the Samsung Galaxy S8+ is charging, at that point it’s a charger issue. For this situation, the main thing that the charger needs to replace and not, at this longer the smartphone.
If the smartphone can’t be distinguished or won’t charging while associated with the PC, at that point move directly to the next stage.
2. Boot in safe mode and then try to attempt charging
You possibly need to do this if the smartphone is as yet powered on and can be rebooted in the next step.
3. Troubleshooting chance of a glitch or device crash
This step could be extremely basic, particularly if the Samsung universe s8+ has a dark screen and won’t react while the power secretly hit. At the point when the device crashes, the Samsung world s8+ will get unresponsive. What’s more, regardless of what you do, it got no answer even to the charger.
Presently, we will bit by bit instruct you to fix your Samsung Galaxy S8+ not charging of charging PMIC issues.
Stage 1. Disconnect the charging link or cable, and separate the I/O daughterboard and battery from the motherboard. At that point eliminate or remove the rear camera.
Stage 2. Join the motherboard to PCB Holder, stick High-Temperature Adhesive Tape on CPU, and connector close to charging PMIC to shield them from high-temperature harm.
Stage 3. Apply BGA Paste Flux to charging PMIC, heat that with Hot Air Gun at 350℃
Stage 4. Withdraw the charging PMIC from the board, eliminate tins on the holding pad with Soldering Iron at 360℃. At that point heat with Hot Air Gun at 360℃ and eliminate tins with gum splashed Solder Wick. When done, clean with PCB Cleaner
Stage 5. Apply some BGA Paste Flux to the holding pad, adjust the new charging PMIC to the privileged place. Bind with Hot Air Gun at 350℃, air gear 2. When done, clean with PCB Cleaner.
Hang tight for the rationale board to cool for 5 minutes, get the motherboard and I/O daughterboard mounted
Stage 6. Plugin the charging link or cable. Run voltage estimation of the battery connector. The deliberate worth is typical.
We ascertain that our proficiency in dealing with Mobile Repair in Brisbane is going to save your day. We cater to mobile repair with a limited warranty on the replacement of all parts. To know more contact us and visit our site.
Call us at 0420268712 | Email: info@yorit.com.au
Read More
Sanitize your Smartphone(Opens in a new browser tab)
Repair Google Pixel 3 Screen from turning black(Opens in a new browser tab)
iPad Pro 11 (2020) Screen Repair Expert Brisbane | Yorit Solutions(Opens in a new browser tab)